Site Identity controls what appears in the brand area of your header: your logo, site title and tagline. You can show a logo, text, or both side by side. It’s also where you set the site icon that shows in browser tabs. Everything here is in the free theme.
Other logos are set elsewhere: the mobile header logo in Header and the sticky navigation logo in Sticky Navigation (both GP Premium).
Appearance → Customize → Site Identity
Settings
Site title & tagline
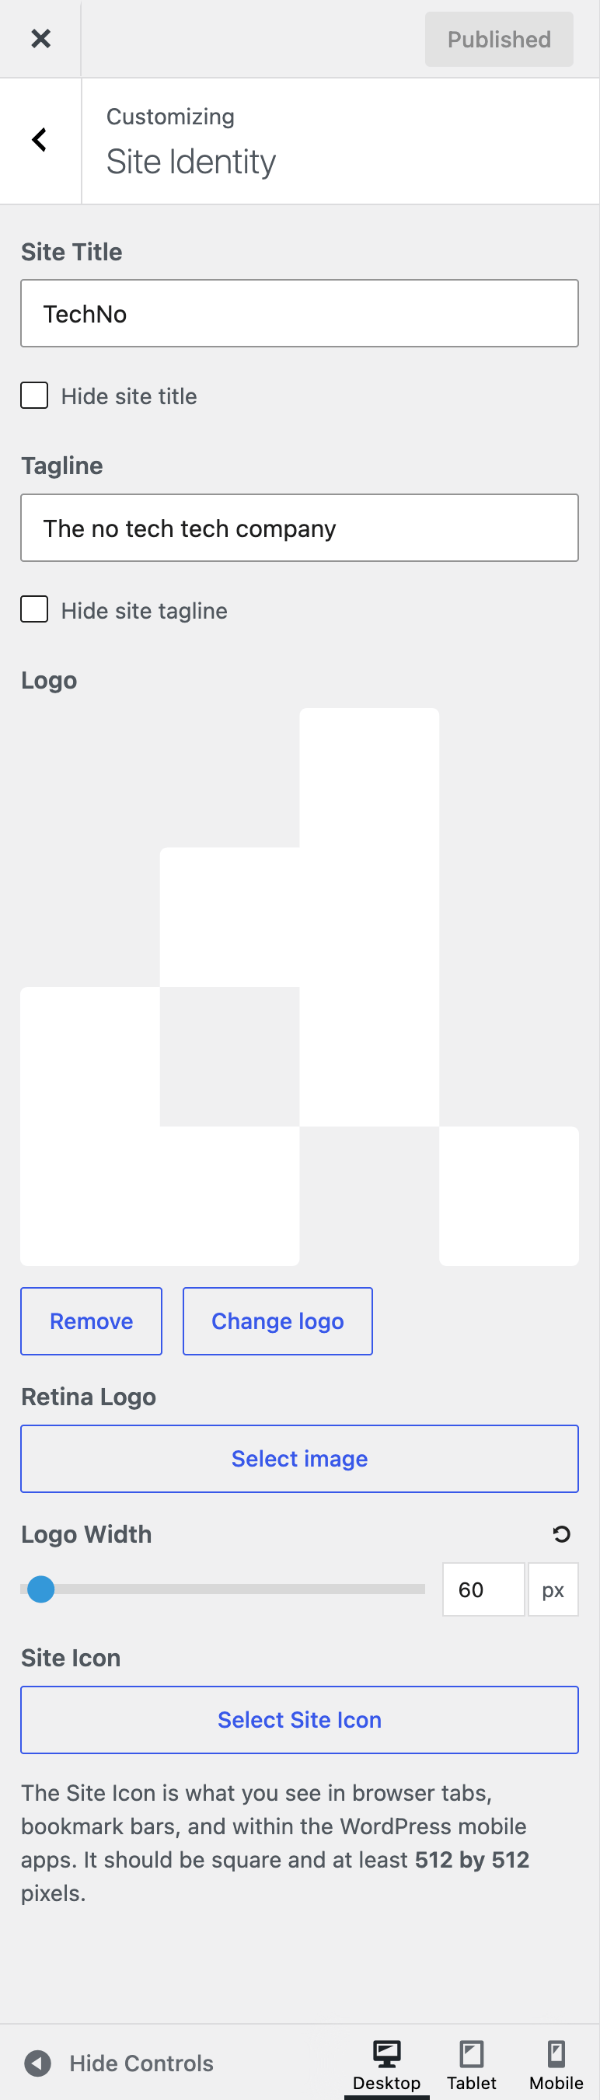
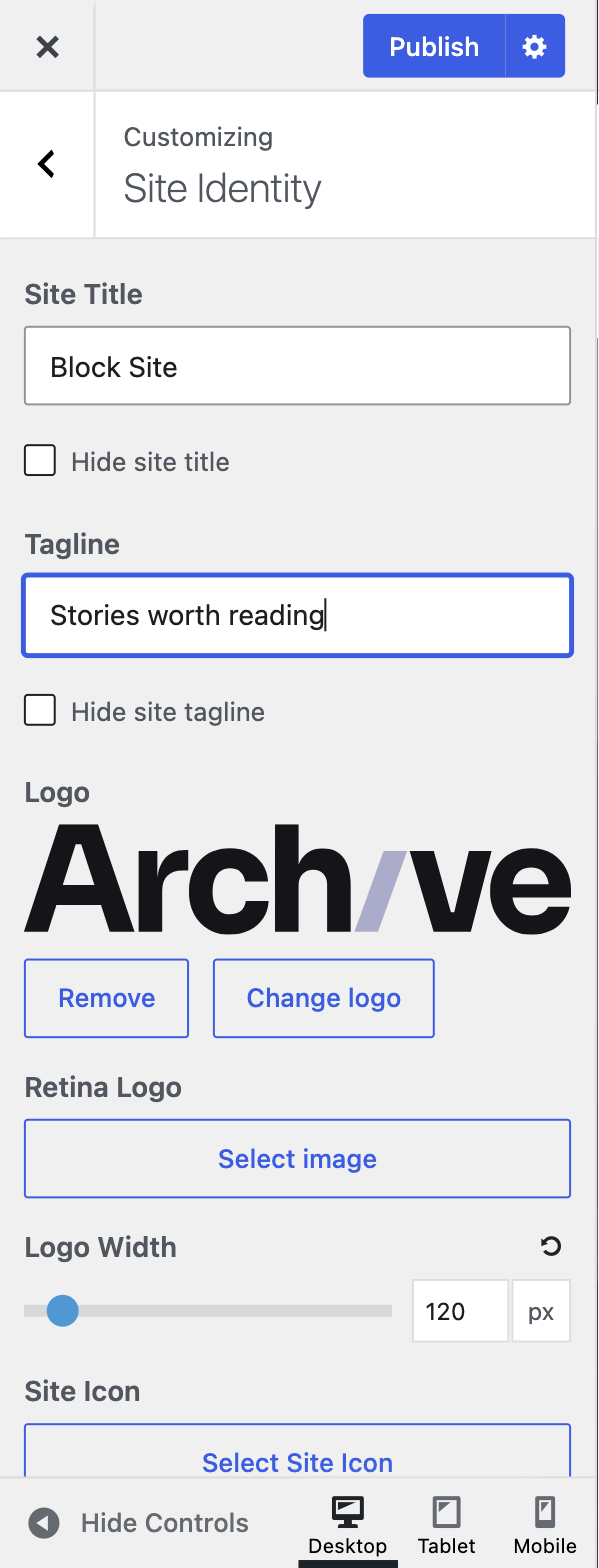
Type your Site Title and Tagline into their fields. To keep one but not show it in the header, tick Hide site title or Hide site tagline. The text is still used elsewhere, such as in the browser tab and search results.
On new installs the tagline is hidden by default.
Logo
Click Select logo and upload or choose an image. Once a logo is set, more options appear:
- Retina Logo — an image twice the size of your logo. Screens that support it (most phones and modern laptops) show this sharper version automatically.
- Logo Width — sets the logo’s width in pixels (20–1200). Leave it empty to use the image’s own width.
To hide the site title once you have a logo, tick Hide site title.
Place logo next to title
If you use both a logo and a site title (or tagline), GeneratePress places them side by side. On sites still using the older float layout, they stack instead, and the Place logo next to title option puts them side by side; it only appears on those sites once a logo and a visible title or tagline are both set. See Switching from floats to flexbox.

Site icon
The Site Icon is the small image shown in browser tabs, bookmarks and the WordPress mobile app. Upload a square image at least 512 × 512 pixels. This is a WordPress setting, so it doesn’t depend on the theme.
Recipes & customizations
Adding an SVG logo
SVG logos stay sharp at any size, so you don’t need a retina version. WordPress blocks SVG uploads by default for security reasons, so:
- Install and activate SVG Support, which allows and sanitises SVG uploads.
- Upload the SVG as your logo in Customize → Site Identity.
- Set its size with Logo Width. If the logo doesn’t show, or shows at the wrong height, give it a size with CSS:
.site-logo img {
    width: 200px;
    height: auto;
}
Change the width to suit your design.
Use a different logo on specific pages
To swap the logo on a particular page or template, use the generate_logo filter with a WordPress conditional tag. This example uses a different logo on the page with the slug about. Add the PHP and replace the URL with your logo’s:
add_filter( 'generate_logo', function( $logo ) {
    if ( is_page( 'about' ) ) {
        return 'https://example.com/wp-content/uploads/about-logo.png';
    }

    return $logo;
} );
With GP Premium you can also do this without code, using a Page Hero Header Element’s site logo option.
Add the site title to the navigation
This moves your site title into the primary navigation bar and removes the separate header — a text-only version of GP Premium’s Navigation as header. Set Navigation Location to Above Header or Below Header first (see Primary Navigation).
add_action( 'after_setup_theme', function() {
    remove_action( 'generate_header', 'generate_construct_header' );
    add_action( 'generate_inside_navigation', 'example_site_title_navigation' );
} );

function example_site_title_navigation() {
    ?>
    <div class="site-branding">
        <p class="main-title">
            <a href="<?php echo esc_url( home_url( '/' ) ); ?>" rel="home">
                <?php bloginfo( 'name' ); ?>
            </a>
        </p>
    </div>
    <?php
}
Then style it with CSS. margin-right: auto pushes the menu to the right of the title:
.main-navigation .site-branding {
    margin-right: auto;
}

.main-navigation .main-title a {
    display: block;
    padding: 0 20px;
    line-height: 60px;
    font-size: 20px;
}
All options
| Setting | Section | Choices | Default | Requires | Customizer option |
|---|---|---|---|---|---|
| Logo | Site Identity | Image | — | — | generate_settings[logo] |
| Retina Logo | Site Identity | Image (shown once a logo is set) | — | — | generate_settings[retina_logo] |
| Logo Width | Site Identity | 20–1200 px, step 10 (shown once a logo is set) | — (image width) | — | generate_settings[logo_width] |
| Place logo next to title | Site Identity | On / Off (float layout only; shown once a logo and title or tagline are set) | Off | — | generate_settings[inline_logo_site_branding] |
| Site Title | Site Identity | Text | — | — (WordPress) | blogname |
| Hide site title | Site Identity | On / Off | Off | — | generate_settings[hide_title] |
| Tagline | Site Identity | Text | — | — (WordPress) | blogdescription |
| Hide site tagline | Site Identity | On / Off | On | — | generate_settings[hide_tagline] |
| Site Icon | Site Identity | Image (512 × 512 px or larger) | — | — (WordPress) | site_icon |
Settings in generate_settings can be changed in code with the option_generate_settings filter.
Related
- Header — header layout, padding, mobile header logo and navigation as header
- Primary Navigation — navigation location
- Sticky Navigation — sticky navigation logo
- Developer reference: Logo and site title filters, Settings defaults filters