Block Elements let you build parts of your site with the block editor — a custom header or footer, a sidebar, content at any hook, and templates for posts, archives, post meta and navigation. Each one replaces or adds to the theme’s output wherever its display rules apply.
Requires GP Premium — Elements module. The whole guide is a GP Premium feature. GenerateBlocks is recommended for building them; core blocks work too, but blocks from other plugins may not be styled correctly.
| Element type | Use it to | Section |
|---|---|---|
| Hook | Add block content at any hook | Hook |
| Site Header | Replace the site header | Site Header |
| Site Footer | Replace the footer widgets and footer bar | Site Footer |
| Right Sidebar / Left Sidebar | Replace a sidebar | Sidebar |
| Page Hero | Add a hero section above the content | Page Hero |
| Content Template | Design how posts show on archives or single posts | Content Template |
| Loop Template | Build your own archive loop with a Query Loop | Loop Template |
| Post Meta Template | Replace the post meta | Post Meta Template |
| Post Navigation | Replace the previous/next post links | Post Navigation |
| Archive Navigation | Replace the archive pagination | Archive Navigation |
Appearance → Elements → Add New → Block
Creating a Block Element
- Make sure the Elements module is active in Appearance → GeneratePress.
- Go to Appearance → Elements → Add New, choose Block and click Create.
- Choose the Element type in the settings panel, build your content with blocks, set the Display Rules and publish.
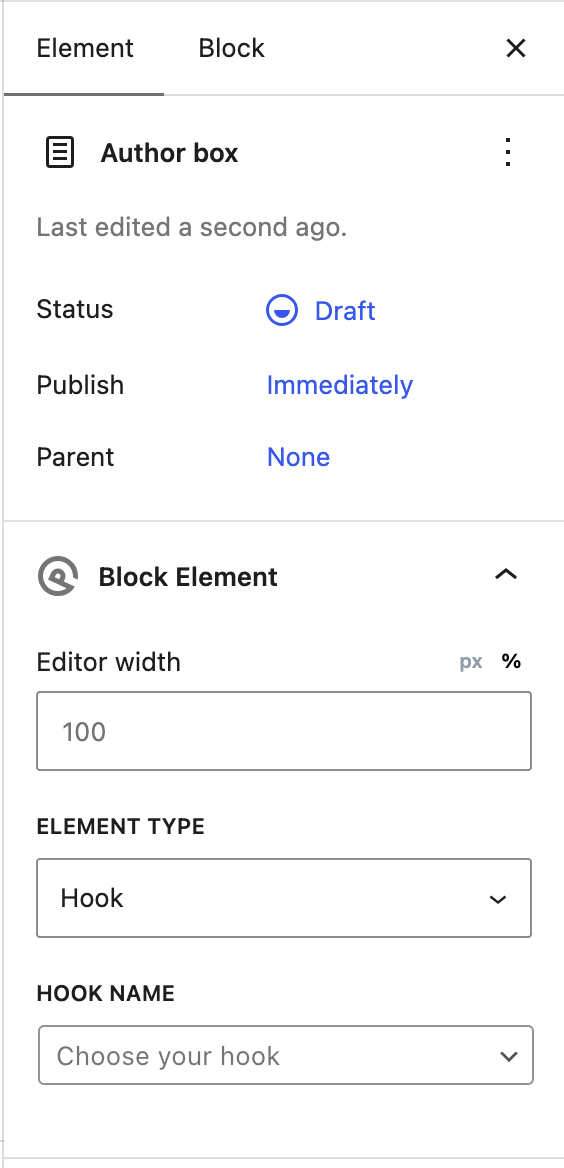
Block Element options
The settings are in the panel on the right of the editor.
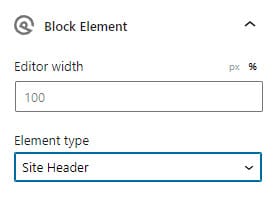
- Element type — what the element does; see the table above. Each type adds its own settings, covered below.
- Editor Width — the width of the editing area. Set it to match the real width (for example your sidebar width) to see the design as it will look.
- Display Rules — Location, Exclude and Users, as for every element. Without a location the element shows nowhere. See Elements › Display rules.
Many types offer Templates — ready-made designs you can import as a starting point.
Hook
Inserts the element’s blocks at any theme hook — ideal for author boxes, calls to action, notices and extra bars. It’s the block version of a Hook Element.
- Hook name (required) — where the content goes. The hooks visual guide shows where each hook sits. Choose Custom Hook to type a hook that isn’t listed.
- Priority — the order when several elements use the same hook (lower shows first).
Site Header
Replaces the whole GeneratePress site header with the header you build. It’s the recommended way to design your own header; the older Hook Element method is separate.
Site Footer
Replaces the whole footer — both the footer widgets and the footer bar — with the footer you build. Import one of the Templates for a quick start.
Current year template tag
Type {{current_year}} in your footer text, for example © {{current_year}} My Site, and the year updates itself.
Sidebar
Right Sidebar and Left Sidebar replace that sidebar’s widgets with the blocks you build. The page must already have that sidebar in its sidebar layout; the element replaces it but doesn’t add one. Set Editor Width to your sidebar’s width to see the real layout.
Content Template
Designs how each post’s content area is laid out — on archives, single posts or both — using Dynamic Blocks and Dynamic Data for the title, featured image, excerpt and so on.
Settings
- Templates — import a starting design.
- Tag name — limit the template to posts with certain tags.
- Apply to — the conditions the template applies under, alongside the display rules.
- Keep default post container — keeps the theme’s post container so Customizer styles such as content padding still apply.
To put items such as the author, date and categories on one line, place them in a GenerateBlocks Element block set to Display: Flex, then set the alignment and gap. (GenerateBlocks 1.x Containers have Inline post meta items and Inline alignment settings for this.) The same applies in Post Meta Template and Post Navigation.
Loop Template
Builds your own archive layout with a query block — the GenerateBlocks Query block (recommended) or the core Query Loop block.
- Create a Block Element and choose Loop Template.
- Add the query block and turn on Inherit query from template, so it shows the posts of the archive it’s displayed on.
- Design the posts, then set the Display Rules — usually your post archives. You can build one template for all archives, or different ones for different categories.
Post Meta Template
Builds your own post meta — author, date, categories and so on.
- Templates — import a starting design.
- Location — where to display the post meta.
- Replace default primary post meta — replaces the meta below the title.
- Replace default secondary post meta — replaces the meta below the content.
Post Navigation
Replaces the previous/next post links on single posts.
- Templates — import a starting design.
- Quick hook select — one of three common places to add it; or choose any Hook name, with a Priority.
- Disable default post navigation — removes the theme’s links.
- Add default archive navigation container — wraps it in the theme’s
paging-navigationcontainer so content padding applies.
Build the links with the Next Post URL and Previous Post URL dynamic tags, which have an option to stay within the same term (for example the same category). Turn on Required to render on each link so it’s hidden when there’s no next or previous post. (GenerateBlocks 1.x Containers have Remove container condition and In same term settings for this.)
Archive Navigation
Replaces the page numbers at the bottom of the blog and archives.
- Templates — import a starting design.
- Hook name — where it shows (default
after_main_content), with a Priority. - Disable default pagination — removes the theme’s pagination.
- Keep default archive navigation container — keeps the theme’s container so content padding applies.
Dynamic Blocks
Two blocks, available in Block Elements, fill themselves with the current post’s details.
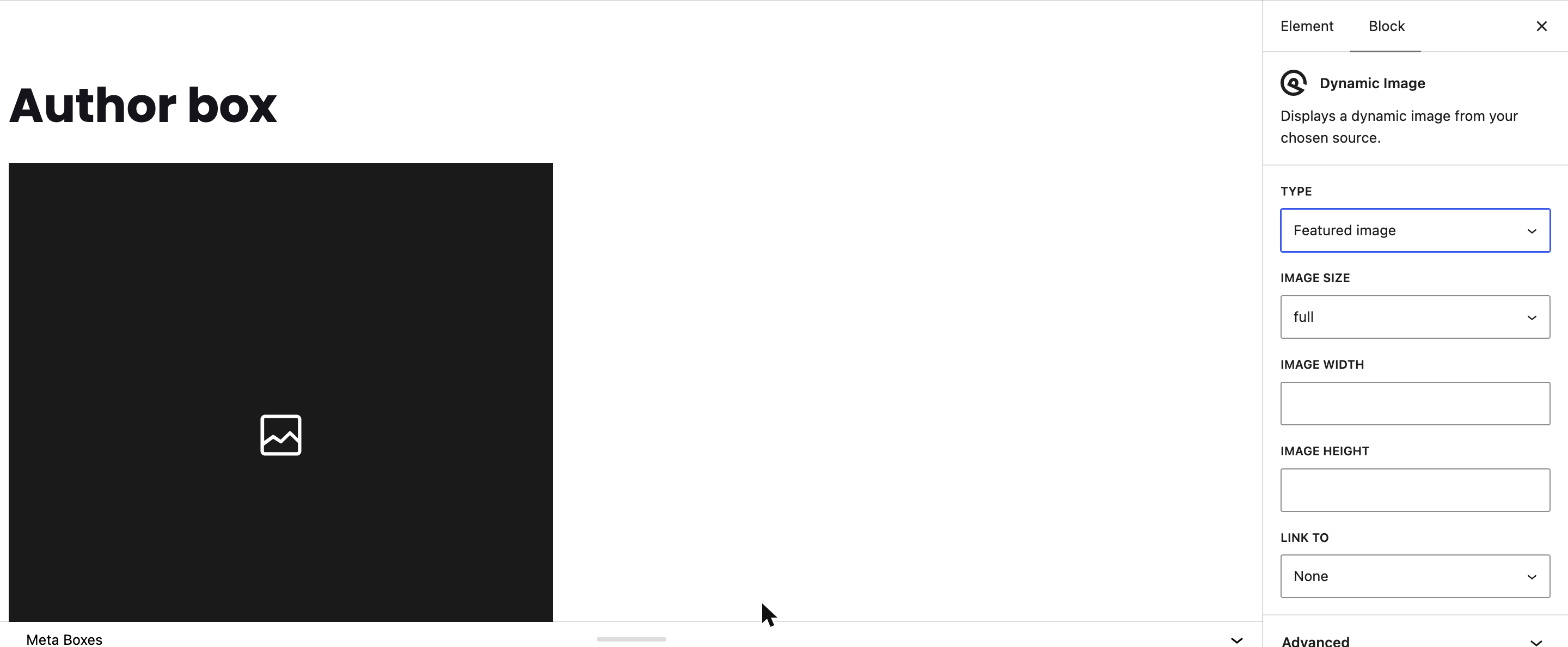
Dynamic Image shows:
- Featured Image — from the current post, or the next or previous post. Set the Image size, Width, Height and Link to (for example the post).
- Author Avatar — with a size and an option to make it round.
Dynamic Content shows the Post Content, the Post Excerpt (set its length), a Term Description or an Author Description.
Dynamic Data
GenerateBlocks dynamic tags fill blocks with the current post’s details — the title, date, author, terms, custom fields and more. They work in text, link URLs, image sources and backgrounds, so they’re the main way to build templates in Block Elements.
- Select a GenerateBlocks block, such as a Text or Element block.
- Click Open Dynamic Tag editor in the block toolbar — or beside a link or image URL field.
- Choose a tag, set its options and click Insert Dynamic Tag.
Tags look like {{post_title}} or {{post_date}}, and you can mix them with ordinary text — for example By {{author_meta key:display_name}}. Many tags have a link option, such as linking the title to the post. Required to render hides the block when the tag has no value.
Useful tags include Post Title, Post Date, Post Excerpt, Featured Image, Author Meta, Author Archives URL, Comments Count, Comments URL, Post Meta, Archive Title and Current Year. See the dynamic tags guide for the full list and each tag’s options.
List of terms
The Term List tag shows the post’s categories, tags or terms from any taxonomy, with your own separator — for example {{term_list tax:category|sep:, }}. To link each term to its archive, set Link To to Term ({{term_list link:term|tax:category|sep:, }}).
GenerateBlocks 1.x blocks: if your site still uses the older Headline, Button and Container blocks, GP Premium adds Dynamic data options to them instead (a database icon in the toolbar), with the same kinds of data. New sites use GenerateBlocks 2.x blocks by default.
Related
- Elements — Hook and Layout Elements, and display rules
- Page Hero — Block Element Page Heroes, Header Elements and the transparent header
- Blog — the theme’s built-in archive and post meta settings
- Developers — hooks visual guide
- Developer reference: Elements and Page Hero filters